Friday, October 29, 2010

two by four

My first attempt at cutting a 2x4 at least 5 times and putting it back together, creating a system, with no fasteners.


Bending the wood using tension to hold the pieces together.


My Second rendition.  Here I cut the wood like in my first attempt and then cut the strips in half.  I was trying to change the scale of the piece and see what would happen.  I quickly found out that the decreased width made the wood more britle.

This is a top view.  Many of the wood pieces started snapping and at one point the entire system seemed to just pop or explode.  So I decided to take this cue and put the wood together using this idea.

Here is a close up of the exploded section.


Here you can see just how much I pushed the wood pieces.  Creating a rather dramatic curve or arc.  Tension is still the binding idea for the system.


My third Rendition.  I wanted to push the limits of the wood even more.  I started with the same width of wood as in my first rendition.  Then ripped the depth of the wood off of each side.  Creating two square pieces and one thin rectangle from each slat.  I started weaving them together in the same fashion as the previous two.  About half of the wood pieces were snapping in half.  So I started bending each piece and letting it snap where it wanted to and decided to put all that together.

Here is a close up of a tension fitting.  Since the wood pieces were snapped in half I didn't have longer pieces to work with.

Here is a view of the piece standing on it's side.  The entire piece is held together by tension and created a very sturdy structure.

Here is another view standing up lengthwise showing the strength of the system.  I arranged the pieces from long to short.


Here is my fourth rendition.  I finally figured out what would and would not work with the wood. 

Here is a top view.  There is a regular pattern and refinement exhibited.


Here are the extra pieces that were left over.  I used them to space out the edges and push the wood as far as I could. 

Tuesday, October 26, 2010

Light Prescedents - Marcus Tremonoto - Treluce Studios

Light....
something that makes things visible or affords illumination: All colors depend on light. (dictionary.com)
  
Marcus Tremonto is a light artist who blurs the traditional context of light.  His designs transcend what we consider a traditional light.  He primarly works with a electroluminescent material to create his pieces.  The use of this material challenges the individuals traditional view of light and how we see or expect to see light.  Most of his designs have this impossible nature to them, they really make you wonder how in the world does that happen.
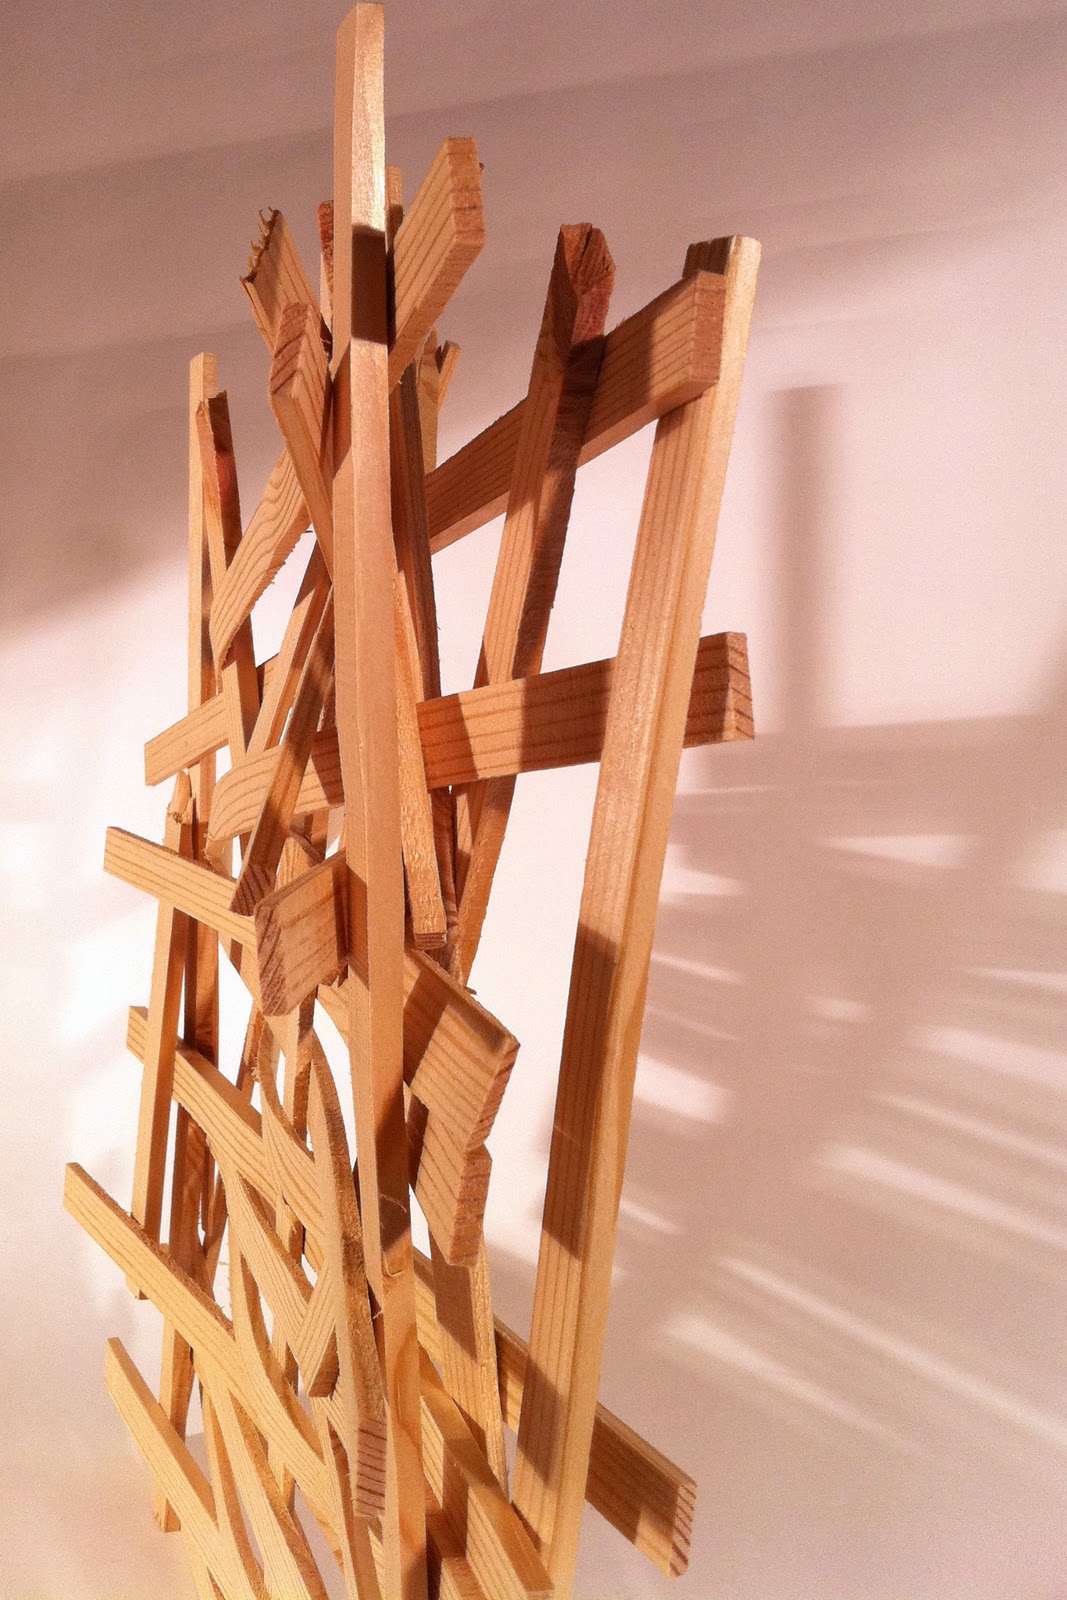
Carbon 451

  The above work, Carbon 451, is his latest creation.  Carbon Fiber is the primary material used in this piece.  Marcus used this material to really push the boundaries for the piece.  If he used any other material he would not have been able to create this design, as it is self supporting.  
Pieces using electroluminescent materials (images from Gallery Fumi, London)


 Mr. Tremonto utilizes what I would call futuristic materials, materials that most of us have not heard of.  This material selection allows him to manipulate light in ways that we are not accustomed which is very fun and very interesting.  When you Compare Marcus Tremonto to another light artist, Paul Friedlander, once may see similarities in style, predominantly the minimalistic tendencies.  However, Friedlander used the common fluorescent tube to create his works rather than the high tech and commercially unavailable materials that Tremonto uses. 


above 4 images are from http://www.hometone.org


(information gathered from Gallery Fumi, London and Phillips de Pury & Company, New York, NY) 

Wednesday, October 13, 2010

Drafting Examples

For this assignment we had to pick a household object and draw the top, front, and side views.  I chose this candle vessel because it looks very simple.  Once you start measuring the container and you find many different angles and complex attributes.  My strength in this drawing is the composition and drafting style.  My weakness is the junction points of the curved sides.  Stephanie helped me work on this and suggested  I use a compass rather than a circle template.

This is an example of three different oblique view.  My weakness was trying to show the object with lines that did not really exist.  Some of the angles did not project properly either.

Extra Credit assignment.  This drawing was fun for me.  It gave me a bit of a challenge which strengthened some of my weaknesses.  Line weight and composition is good here.  No major flaws.

Object A and B - Elevation Oblique.  Strengths are line weight and composition.  Weaknesses are projecting circles correctly and lettering.

Objects A and B - Isometric Oblique.  This was chosen as a good example for others to follow.  I did put my circle in the wrong place on object a and I could work on my lettering.

Object A and B - Plan Oblique.  Good line weight and accuracy in corners are strengths.  Circles and Lettering are weaknesses.

Saturday, October 9, 2010

Vestige - The mark of the foot left on the earth; a track or footstep; a trace; a sign; A faint mark or visible sign left by something which is lost (wiktionary.org)

My light Phenomenon - shadows that create the appearance of pea gravel
We have been working with powers of 10, so I blew up my image 10 times and rasterized it in black in white to do a value study on the shadows.
This is my final composition.  My Diagramatic model is on the left and lends a playful movement throughout the piece.  I chose the title Vestige because it related directly to the gravel and the light or absence of light that creates the shadows.

This is a close up of my diagramatic model.  Paper of different color and texture has been layered to create shadows like in the pea gravel.  Pins go into the lighter pieces and also come out showing how the light is reflecting back to you.  In the foreground you will see light going in, but not out.  representing how the shadows are formed.

Tuesday, September 28, 2010

A container for Twelve stwigs (sticks and twigs)

 My PARTI - mainly my big idea.  Turns out this was extremely complicated and immediately began to be scaled back.
My first two Prototypes.  Here I was working with size and form.  These were centered around being an enclosure for the stwigs which made these objects about 18 inches tall.  These dwarfed the delicate nature of my stwings.

versions 3,4,5, and 6.  The scale is greatly reduced.  I've played around with the diameter of the tubes as well as the length and color of paper used.  String is my binding agent and is integral in the design and function of my final container.

Interior views - show how I ma trying to have a interior focus on the container.

Prototype for the first major critique.  I have focused on a six sided tube, based on the number 12.  There are twelve different pieces of string arranged to replicate the pattern that the branches of the stwigs make.  I really enjoy the pattern that the string makes on the inside of this piece.  I do not enjoy the pattern that they make on the outside, as this pattern does not relate to the stwigs.  I also needed to work on my point of juncture and either highlight this or integrate it more.

For our next critique I fashioned this prototype.  Here I have used 6 pieces of paper held together with 1 continuous piece of string.  The juncture point of the different pieces of paper has been stretched vertically to have a slight graceful curve which relates to the branching pattern on the stwigs.  The pieces of paper also form an outer and inner ring which relates to the stem structure of my stwigs.  The paper I chose was lighter in coloration which I felt was too austere for the stwigs.  From here I wanted to add significantly more string to develop the inside more and also work on my wrapping pattern and amount of wrapping on the stwigs themselves.  One major aspect still to be tackled is hot to seamlessly integrate the stwigs into their container. 

Final version failed prototype.  After a good hour and a half stringing string inside the container it came time to fold the ends over to make the tube come to life.  The additional string made this impossible to come to fruition.  This meant the final needed less string on the inside and led to my final project below.

My final Conatiner

This is my favorite way to view my container for my stwigs.  The ends of the stwigs were their most compelling attribute.  Inside the container is a web of twelve strings.  They create central place to contain the stwigs.

This is a view inside the container.  I wrapped the stwigs in a manner that reinforced the delicate curve of the stwigs.  The string is made from hemp and relates to the texture of the stwigs.

close up of the wrapping technique.

The container in it's place on my twigs.

Here you can see the ends of the stwigs, the detail inside the container, and the slight curves on the outside of the container.